
A standalone file workflow
- Treat the cutout as a standalone download
- Move the file before testing a new layout
- Find the source again when an edge needs review
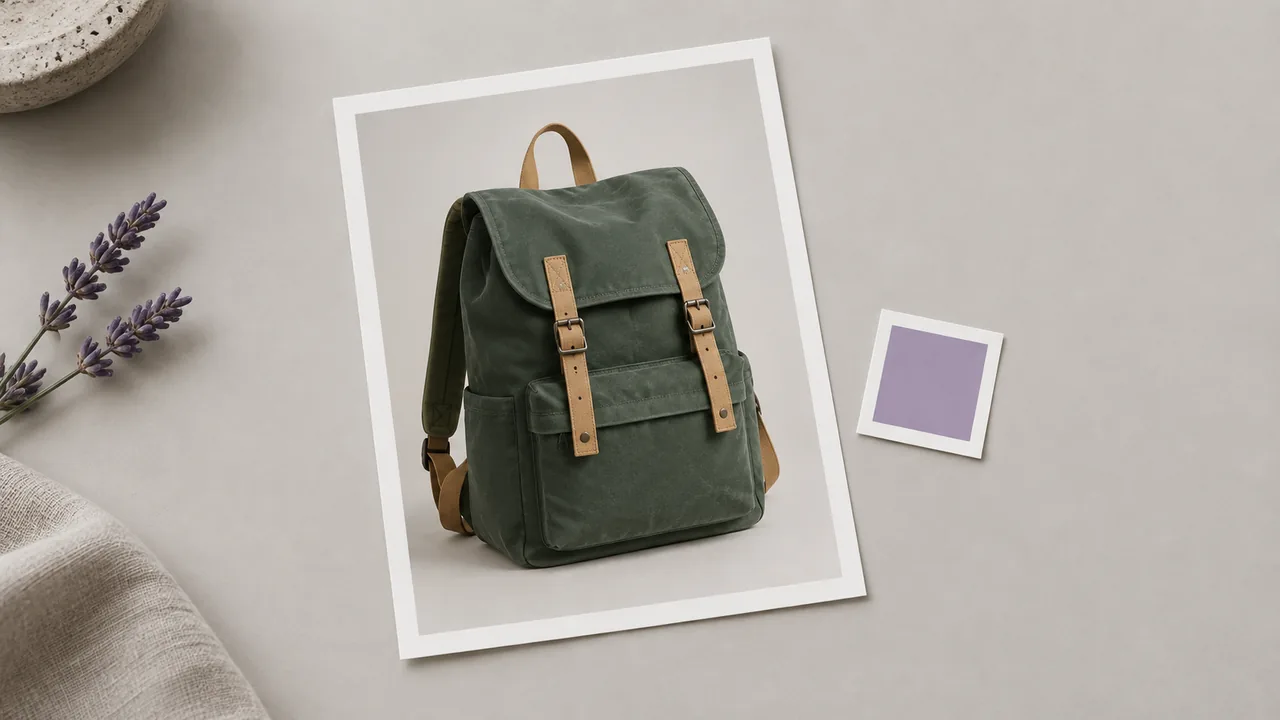
An AI background remover prepares the subject in your photo for a new layout. Create a cutout on the canvas and inspect its outline against the background planned for the finished design.
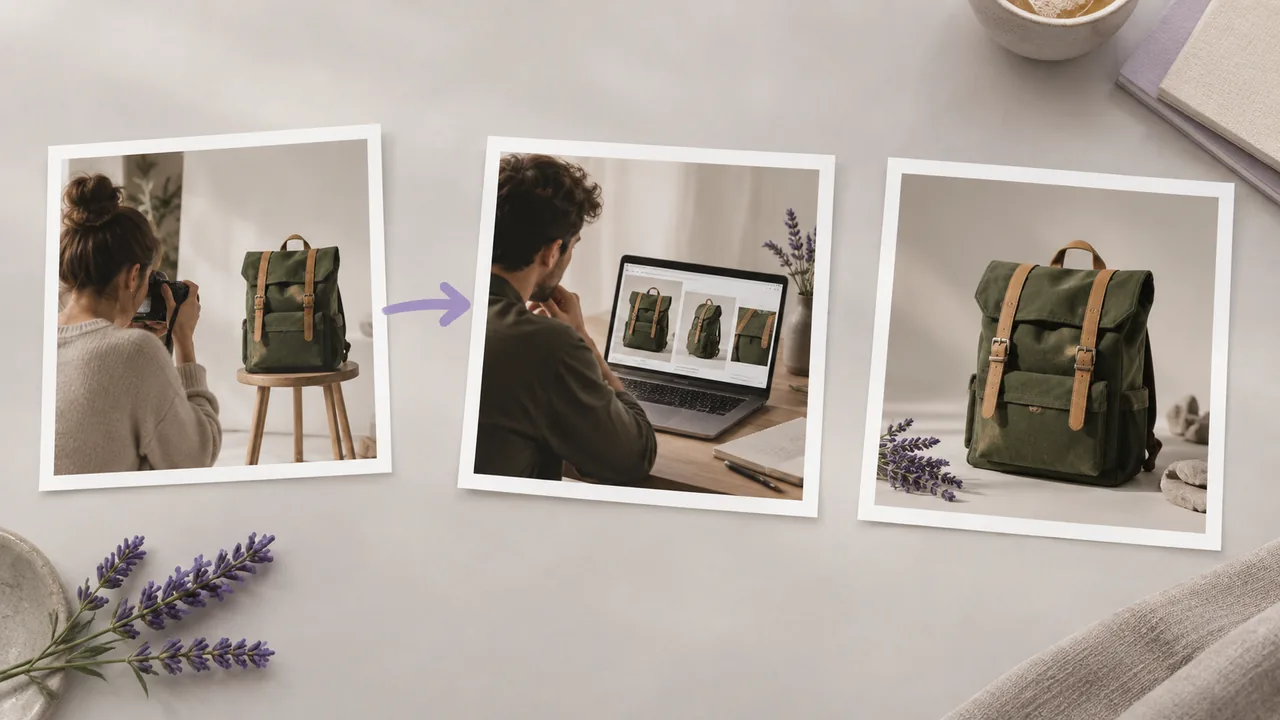
A detached cutout file can make the original details harder to assess. Compare the outline with the photographed subject before choosing its next placement; illustrations show workflow concepts, not tested tool results.
Use a photo whose subject has a visible outline, and keep the intended design background in mind.
Open a canvas with the photo you want to process and connect it to Background Removal. Choose an image where the subject and its outline can be inspected clearly.
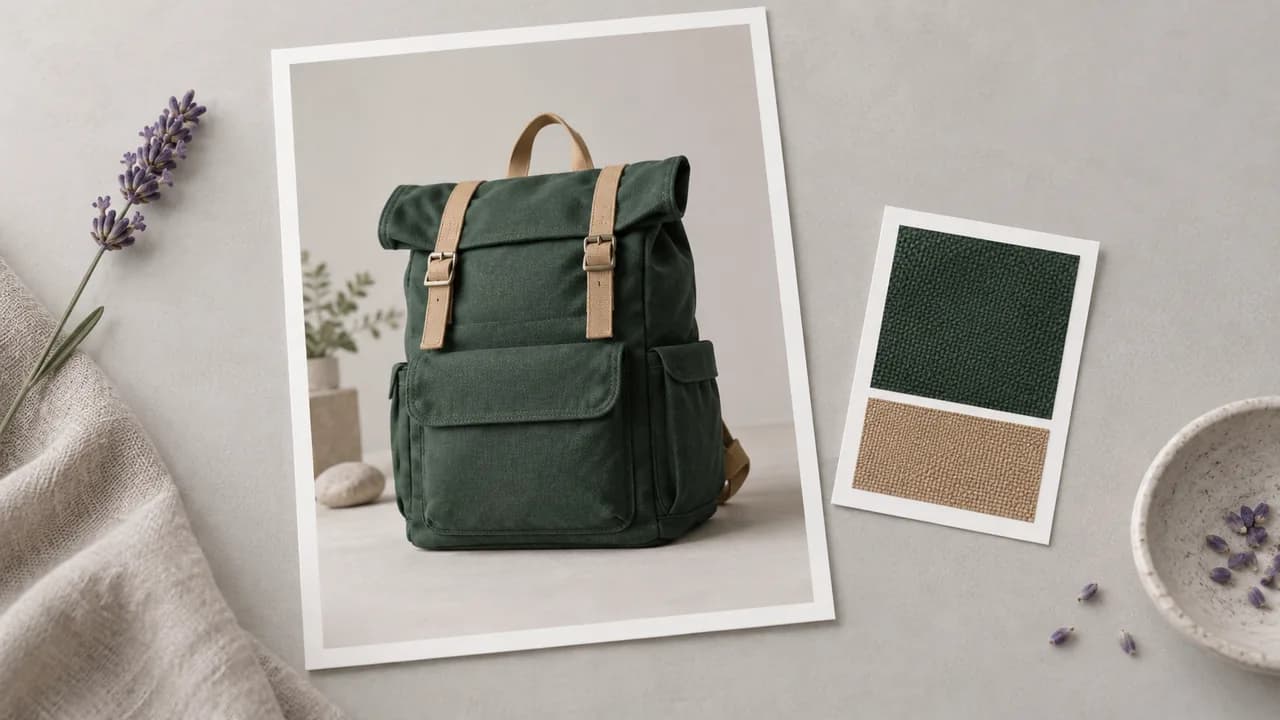
Start Background Removal with the connected photo, then wait for the processed image. Keep the intended placement in mind when moving on to the edge review.
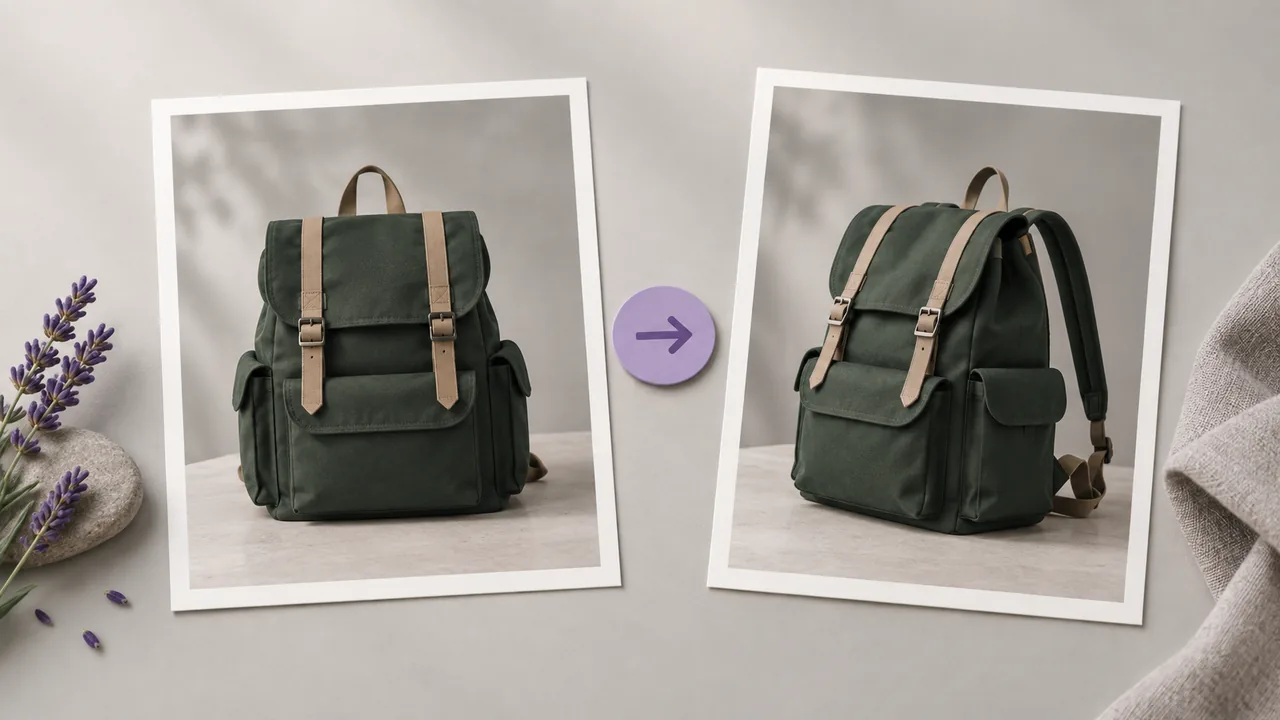
Review the result around hair, straps, handles and other fine details. Test the outline against the intended design background before deciding whether the cutout is ready for that placement.
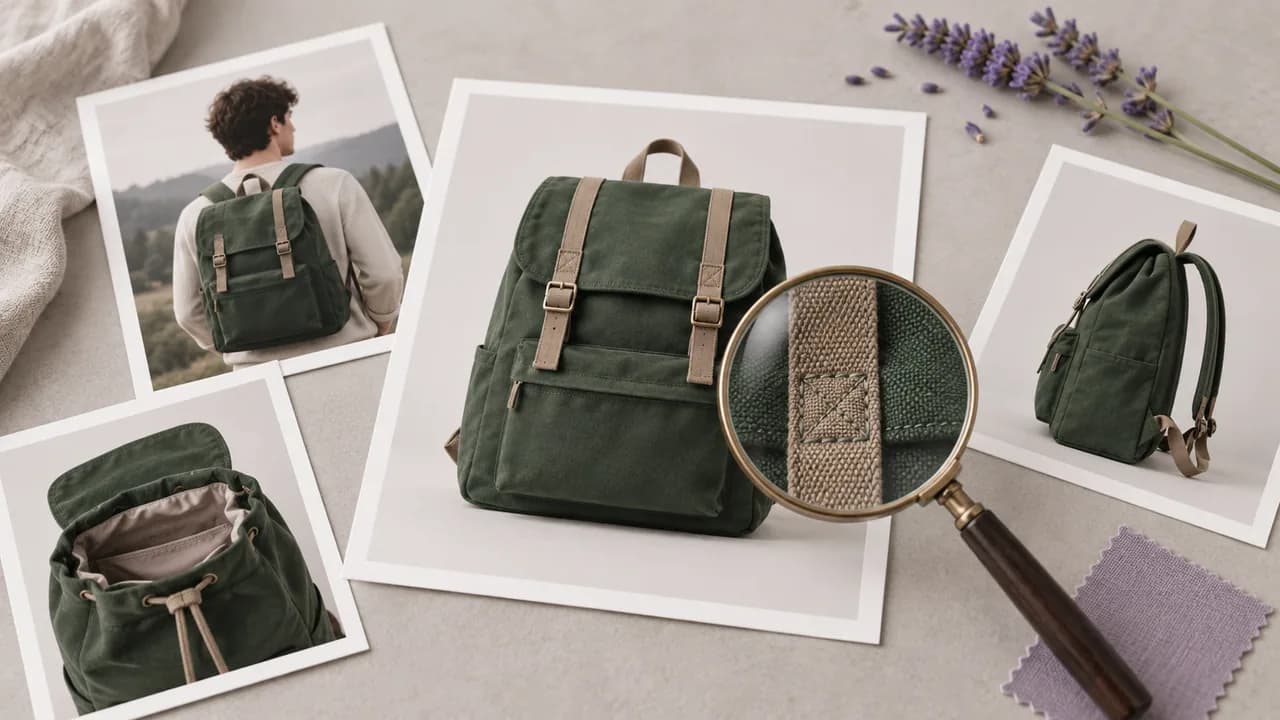
The removal operation turns a connected photo into a reusable image asset, with a distinct source and result.
Connect the image containing the subject you need. The removal step works from that source rather than asking you to generate a new depiction of the object.
Open the canvasThe operation does not require a written prompt. Its input is the connected image, so setup does not include describing a style or choosing a generated scene.
Open the canvasBackground Removal uses a dedicated background-removal engine. It performs subject isolation as a separate operation from the image-generation models you may use elsewhere on the canvas.
Open the canvasThe result is a PNG with transparency around the isolated subject. That alpha channel lets the next design background show through where the original surroundings were removed.
Open the canvasThe connected source remains part of the canvas workflow. Review it alongside the processed image when deciding whether small details should be retained in the final composition.
Open the canvasCarry the selected cutout into a compatible image task or your design workflow. Choose the next operation according to the intended placement and assess the resulting composition as a separate design decision.
Open the canvasUse these examples to decide what to inspect in your own cutout. All pictures are concept illustrations of the task, not before-and-after results from the removal engine.



A store designer has photographed a backpack but needs it to sit inside a consistent product layout. Prepare the cutout, inspect its straps, and place it beside the actual product information in the final design.
Open the canvas
A marketing team is assembling a seasonal graphic around an existing item. Separate the product from its photographed setting, then arrange the approved cutout with campaign elements in the design used for the promotion.
Open the canvas
A tutorial editor wants a presenter portrait beside a diagram rather than the original room. Prepare the portrait cutout and check the hair against the planned background before completing the cover composition.
Open the canvas
An artist is arranging a hand-painted toy image inside a wider composition. Isolate the subject, inspect narrow shapes that belong to it, and use the selected cutout where its scale fits the design.
Open the canvas
A furniture editor needs a chair image to sit alongside specifications without the surrounding room. Review the cutout between the legs and around the upholstery before placing it in the catalog layout.
Open the canvas
A shop owner is preparing a set of product cards from photos taken in different places. Create and inspect each cutout separately, then use the approved subjects inside the shop's existing design system.
Open the canvas
| Input | One connected image on the canvas. | |
|---|---|---|
| Operation | Background Removal isolates the subject; it does not generate a replacement scene. | |
| Output | PNG with transparency. | |
| Prompt | No text prompt is needed for the removal operation. | |
| Removal engine | Bria RMBG 2.0, invoked by the Background Removal canvas tool. | Verified 2026-09-28 |
| Access and request cost | Check your account access and the displayed requirement for the configured operation. | Verified 2026-09-28 |
| Free account | A free plan is listed on the pricing page; no credit card is required to start. Specific task access is separate. | Verified 2026-09-28 |
| Commercial use | Paid-plan generated outputs have commercial rights subject to provider terms and input rights. Free-plan generation is for non-commercial evaluation. | Verified 2026-09-28 |
| Upload data use | Default-plan uploads, prompts and outputs may be used for training. Provider policies also apply. Enterprise opt-out needs an agreement; learned or aggregated data may persist after source deletion. | Verified 2026-09-28 |
These catalog models can create artwork for a separate image workflow. They are not the Background Removal engine; the removal tool processes your selected input with its own dedicated operation.
An AI background remover isolates a subject from the surroundings in an existing photo. In Astorie, Background Removal is a canvas tool for preparing that subject as an image asset. It does not decide the final design placement for you or automatically generate a replacement scene.
Yes, a free plan appears on the Astorie pricing page without a credit-card requirement. Before processing a cutout, check the access and credit information shown in your account. Do not assume that a free account grants unrestricted processing or commercial rights for every image workflow.
You need permission to process and reuse the source photo for its intended placement. Removing the background does not transfer ownership of someone else's subject or image. Review Astorie's commercial-rights guide and applicable provider conditions; paid-plan rights for generated work do not replace clearance for source material.
Inspect the silhouette on the background where you intend to place the cutout. Pay attention to fine hair, straps, handles and enclosed gaps, and compare questionable areas with the original. A transparent output is not evidence that every edge is correct; approve the image for its specific design placement.
Connect one source photo to Background Removal and inspect the resulting outline.