
A standalone file workflow
- Judge the enlarged file in isolation
- Find the source again to check a small detail
- Move the approved image into another task
An AI image upscaler prepares a chosen photo or illustration for a larger placement. Configure the enlargement on the canvas, then decide whether the processed detail serves the design you selected.
More pixels do not answer every question about an enlarged image. Keep the original available while deciding whether the processed texture and fine shapes suit the destination; illustrations show workflow concepts, not tested tool results.
Decide where the enlarged image will appear before choosing an engine or requesting additional pixels.
Open the selected image in a canvas project and connect it to the Image Upscale tool. Settle the composition before spending a generation on a larger version.
Inspect the output controls for the configured operation. Match the requested dimensions to the destination, using the options shown for that particular engine, then check the request before starting the task.
Inspect the output beside the source at full size, especially around lettering, faces and repeated textures. Adjust the processing choice if the new details do not suit the intended placement.
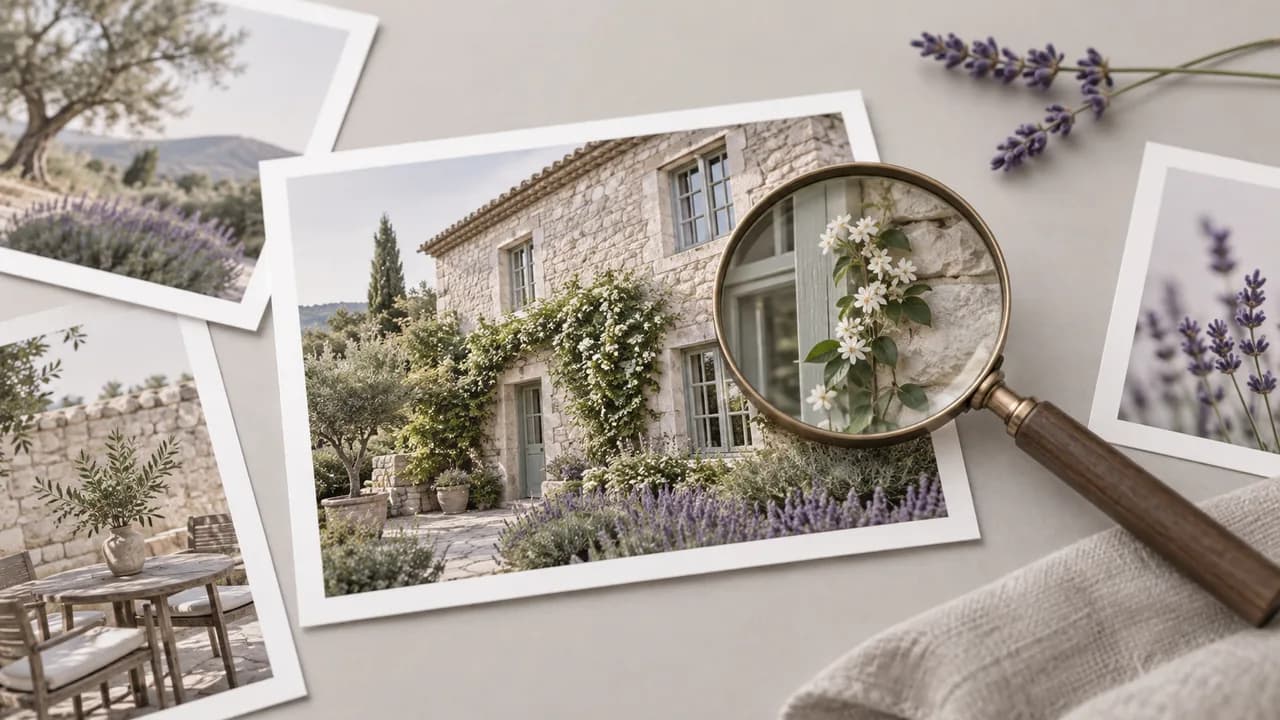
Use enlargement after the composition is settled, then assess the finished picture at its intended placement.
The operation starts with an existing source image on the canvas. Choose the photo or illustration you want to enlarge before configuring the processing step.
Open the canvasChoose from the image-upscaling models offered by the tool. The engine selector determines which processing path receives the source picture, so make that choice before running the task.
Open the canvasReview the scale or resolution options exposed for the chosen engine. Output limits depend on that model and the source, not on a universal setting shared by every request.
Open the canvasThe Magnific Creative path exposes a prompt for its creative processing. Use that model-specific control when appropriate; the presence of a prompt there does not apply to all upscale engines.
Open the canvasCheck the cost shown for the selected model and settings before starting the operation. This lets you assess the request you actually configured rather than relying on a generic per-image estimate.
Open the canvasThe processed image returns to the canvas workflow. Continue with the selected result in a compatible next step after you have assessed its suitability for the project.
Open the canvasThese cases show what to inspect after an upscale operation. The images are concept illustrations, not measured improvements or outputs from the listed engines.
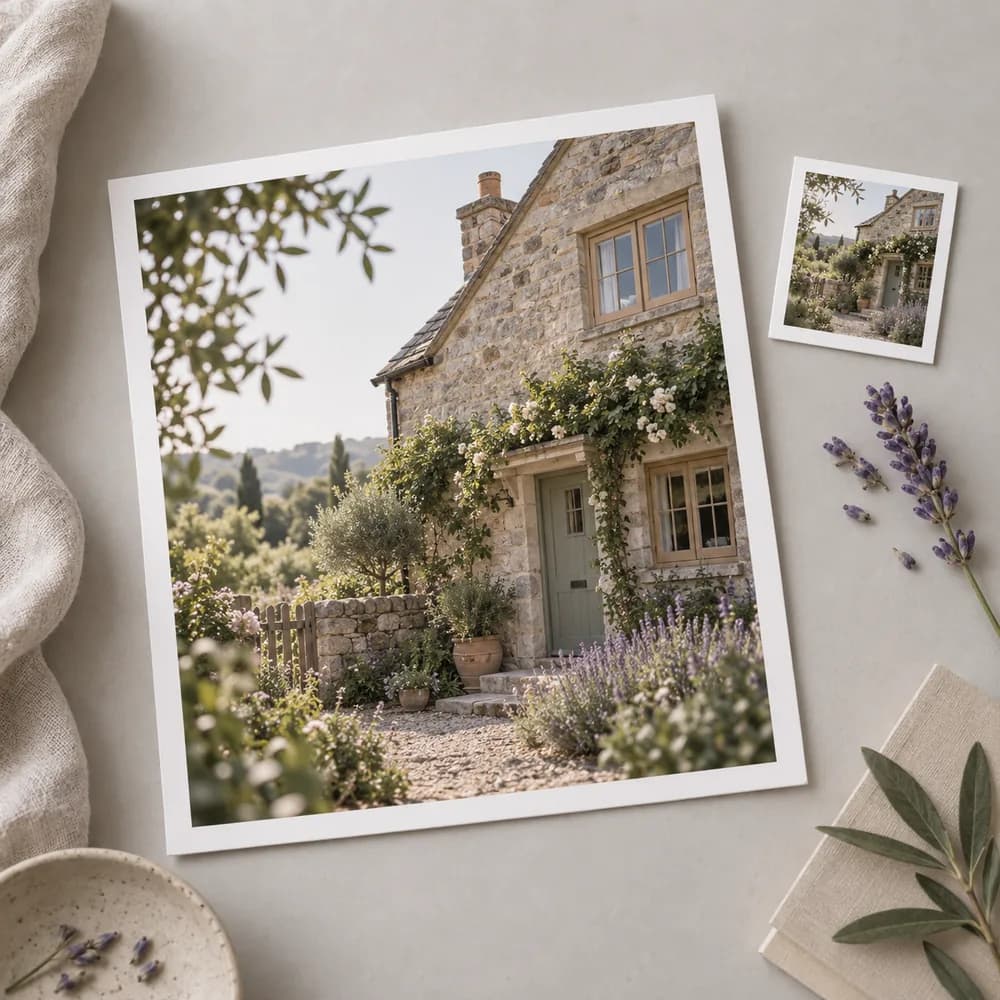


A designer has selected a product photo that must occupy a larger store layout. Enlarge the chosen image, then inspect identifying marks and proportions before placing it alongside the details of the item actually sold.
Open the canvas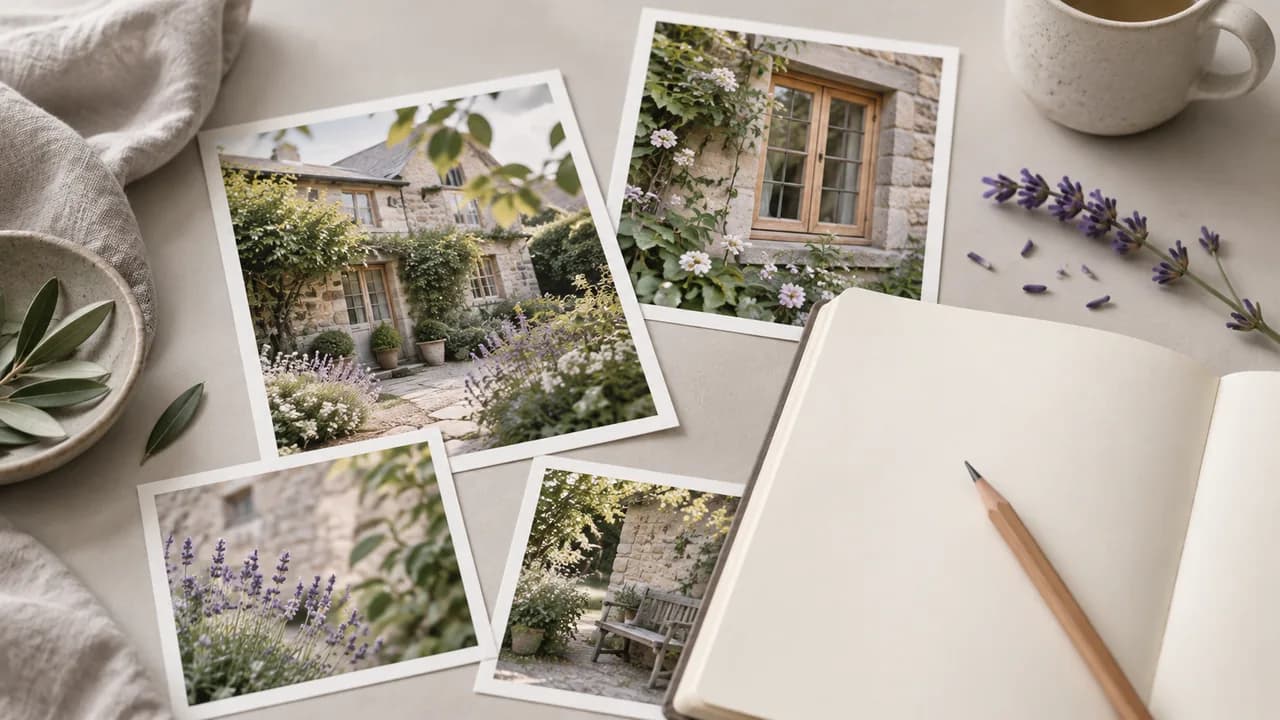
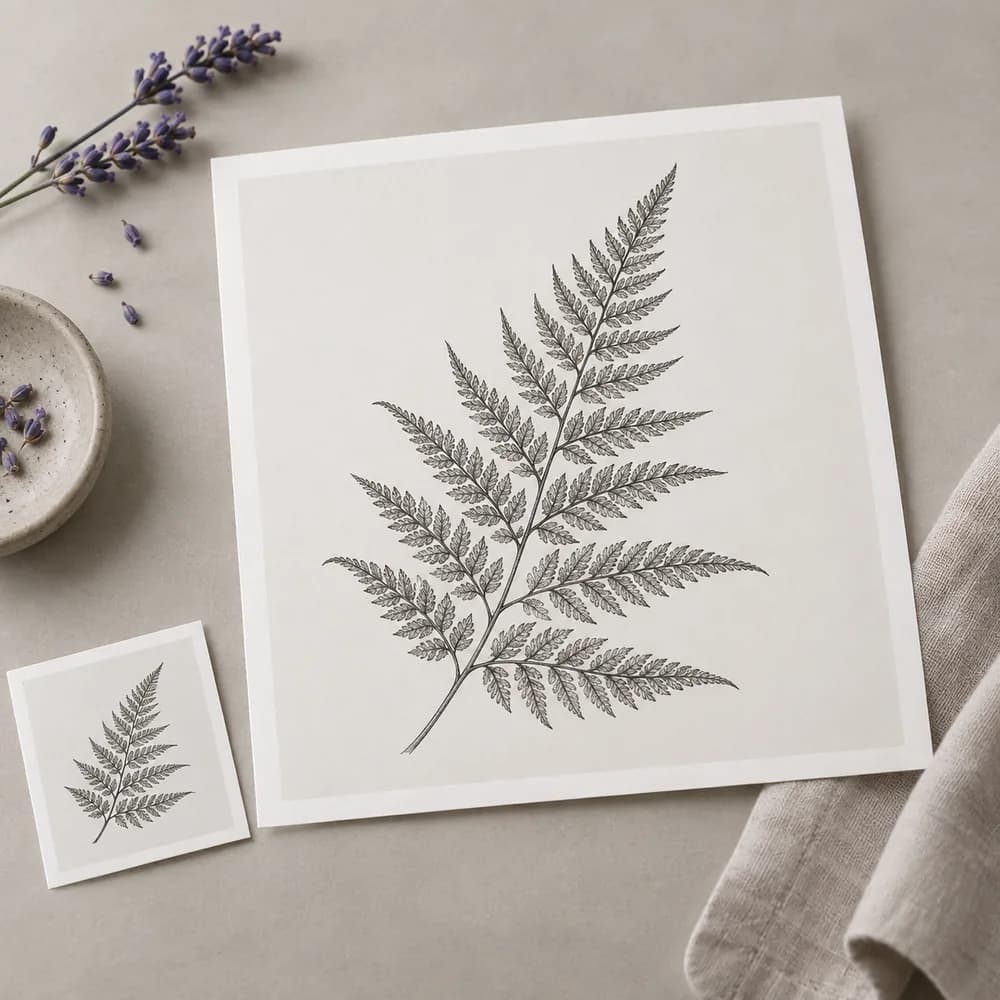
An illustrator has approved a fern drawing for a new placement with different pixel needs. Review the enlarged line work before delivery, and judge it at the size where those thin strokes will be seen.
Open the canvas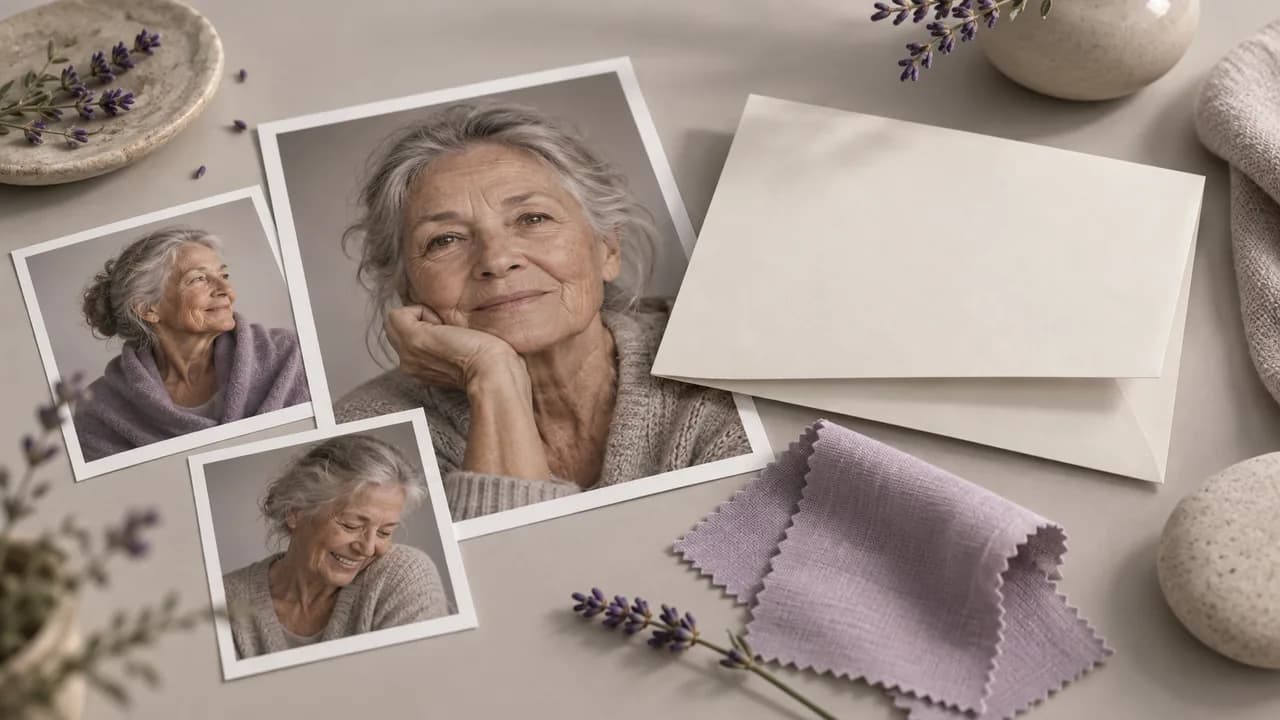
An editor needs a larger still from footage that was framed for motion. Choose a sharp source frame first, then inspect the enlarged image for reconstructed details before using it outside the original clip.
Open the canvas
A concept artist has settled the composition after several drafts and now needs a larger image for review. Apply enlargement to the selected version, keeping the creative decisions separate from the finishing assessment.
Open the canvas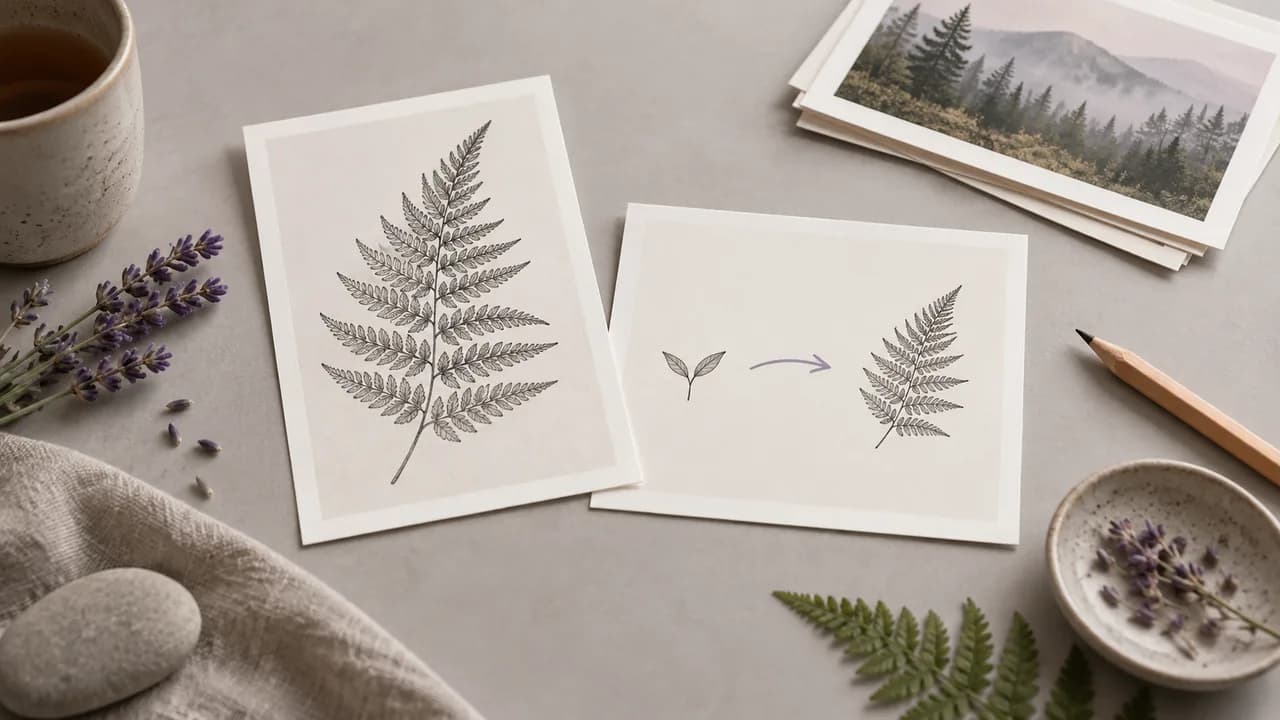
A publication designer receives a portrait that will occupy more space than first planned. Compare the processed face with the source and check the final crop before accepting the image for that placement.
Open the canvas
A presenter wants a detailed illustration to remain readable on a large slide. Assess the enlarged image in the actual slide layout, with special attention to fine lines that disappear or change when projected.
Open the canvas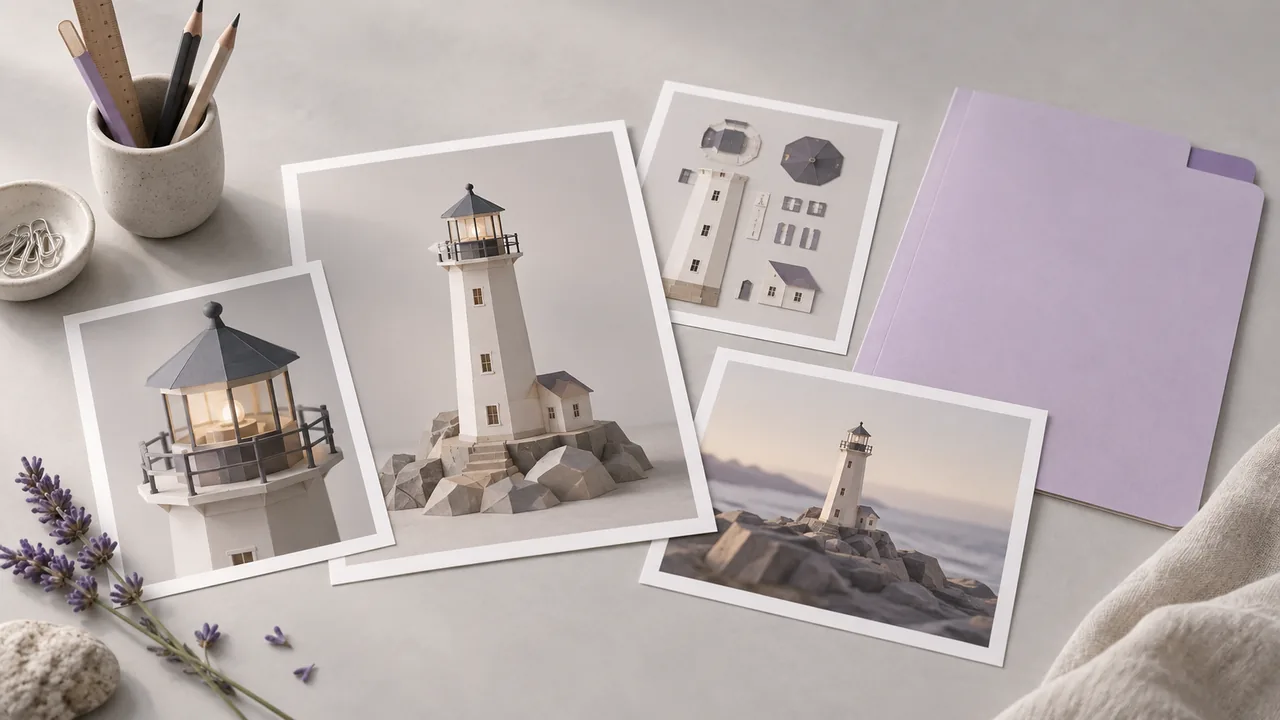
| Input | One source image connected to the Image Upscale canvas tool. | |
|---|---|---|
| Model choice | Image Upscale offers Recraft, Topaz and Magnific processing options. | |
| Destination brief | Determine the image placement and intended viewing size before processing. | |
| Preservation | An enhancement can change texture, lettering or faces. Inspect the result against the source. | |
| Print preparation | Pixel dimensions, final print size and your printer settings all matter; there is no universal print-ready setting. | |
| Access and request cost | Check your account access and the displayed requirement for the configured operation. | Verified 2026-09-28 |
| Free account | A free plan is listed on the pricing page; no credit card is required to start. Specific task access is separate. | Verified 2026-09-28 |
| Commercial use | Paid-plan generated outputs have commercial rights subject to provider terms and input rights. Free-plan generation is for non-commercial evaluation. | Verified 2026-09-28 |
| Upload data use | Default-plan uploads, prompts and outputs may be used for training. Provider policies also apply. Enterprise opt-out needs an agreement; learned or aggregated data may persist after source deletion. | Verified 2026-09-28 |
These generation models help create the source artwork before enlargement. The actual Image Upscale engines are selected in the tool; these cards are not an upscaler ranking.
Upscaling creates an enlarged rendition of a source picture. On Astorie, that finishing operation happens in the canvas workflow. The resulting image needs a visual review because reconstructed detail can differ from the source, even when the file has more pixels or appears sharper in a reduced preview.
Yes, Astorie lists a free plan and says no credit card is required to start. That describes account availability rather than a promise of unrestricted image enlargement. Consult the current pricing page for plan details and confirm whether Image Upscale is available in your account.
Enlargement does not give you new rights in a source image. For generated artwork, Astorie permits commercial use on paid plans subject to provider terms and input rights. Free-plan generation is for non-commercial evaluation. Check the commercial-rights guide before using the enlarged result in paid work.
Start with the pixel dimensions required by the destination and the intended viewing distance. More pixels alone do not establish that an image is ready to print or publish. Assess the final layout, including its crop, and ask the print or publishing team for their delivery requirements.
Bring a source image and its intended placement to the canvas before choosing an upscale pass.