

How to Replace a Character in Video with MiniMax H3 Without Rebuilding the Shot
Quick Answer
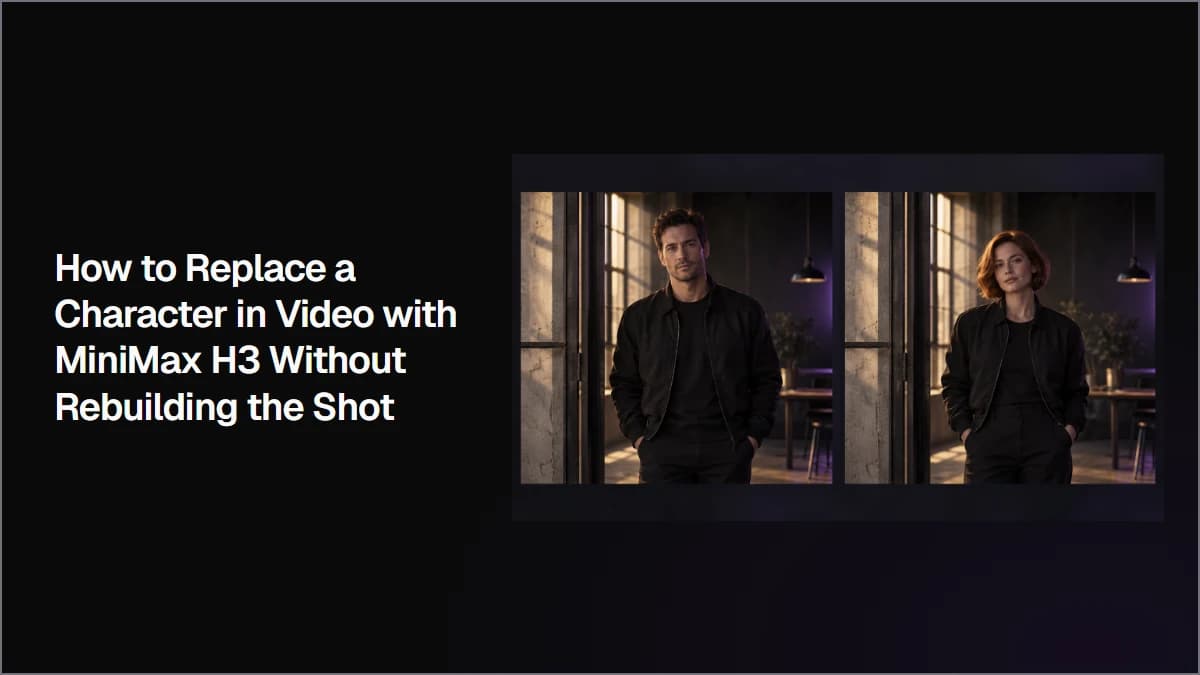
To replace a character in a video with MiniMax H3, use the original video as the performance reference and the new character image as the identity reference.
The key is to separate two jobs:
- The video controls what happens: movement, timing, camera, and scene.
- The character reference controls who appears: face, hairstyle, outfit, and identity.
In my test, replacing the character from an existing video preserved the original close-up shot better than creating a new video with the same setup. The final result kept the original performance while changing Carrie into a new character.
What You Need Before You Start
A source video with the performance you want to keep
Character replacement works best when you already have a video that contains the motion and camera behavior you want.
For this workflow, I used an existing MiniMax H3 base video.
The clip showed Carrie in an indoor living room scene. It used a close camera angle focused on her face and upper body. The shot included a small head movement and a subtle turn toward the camera.
This type of clip is useful because identity changes are easier to evaluate when the face is clearly visible.
A character reference for the new identity
Before replacing the character, prepare the new character assets.
For this test, I created a new character and saved the main image as:
@hero
I also prepared additional views:
- @CHAR2_Front
- @CHAR2_34
- @CHAR2_Side
The first test only used the main character image.
The goal was to see whether one clear identity reference was enough before adding more inputs.
A clear replacement goal
Before generating, define what should change and what should stay.
In this workflow:
Change:
- Carrie's identity
- facial features
- hairstyle
- character appearance
Keep:
- camera framing
- movement
- timing
- room environment
- lighting
- overall shot structure
This prevents the generation from becoming a completely new video.
How to Replace a Character in Video with MiniMax H3
Step 1: Start with an approved base video
The first step is not creating a new clip.
Instead, start with a video that already works.
For this project, I reused my existing VID_01_BASE clip instead of generating another scene.
The reason was simple: the original video already had the motion, composition, and camera behavior I wanted. Rebuilding the shot would introduce unnecessary changes.
Step 2: Add the new character reference
Next, connect the new character reference to the replacement workflow.
For the first attempt, I used:
@hero
as the identity reference.
The reference image was responsible for defining the new character.
The video remained responsible for the original performance.
This separation is the most important part of the workflow.
Step 3: Use the source video as the performance reference
The prompt should clearly explain the relationship between the video and the new character.
My prompt focused on three instructions:
- Replace Carrie with the new character.
- Keep the original video structure.
- Preserve the original movement and environment.
The final prompt direction was:
Use @hero as the new character reference.
Replace Carrie in the source video with @hero.
Keep the original shot structure, close framing, face and upper-body composition, body movement, timing, camera stability, indoor living room background, lighting, and overall visual continuity unchanged.
Preserve the subtle turn toward the camera and the natural expression from the original clip.
The final result should look like the same shot and the same performance, but with @hero replacing Carrie.
The important part is not adding more description about the new character.
The important part is telling the model what information comes from the video and what information comes from the character reference.
Step 4: Generate the replacement video
After connecting the source video and character reference, generate the new version.
In my test, the replacement worked as expected.
The new character appeared in the same close-up setup. The face was clearly different from Carrie, while the original shot structure remained recognizable.
The most noticeable moment was the transition from side view to front view.
At the beginning of the clip, the new character appeared from a side angle with the hair moved behind the ear. When the character turned toward the camera, the new identity was still clearly visible.
This made it easier to confirm that the replacement was not just a surface change.
Step 5: Check the result with three QA points
A successful replacement is not only about whether the face changed.
I checked the result in three areas.
Identity consistency
First, check whether the new character remains recognizable.
Look at:
- facial features
- hairstyle
- overall appearance
In my result, the character identity stayed consistent between the side view and the front-facing view.
Performance preservation
Next, compare the movement.
The purpose of using the original video is to keep the existing performance.
Check:
- head movement
- timing
- expression changes
- camera behavior
The replacement result kept the original close-up performance instead of creating a completely new action.
Scene continuity
Finally, check the environment.
A good replacement should not accidentally rebuild the entire scene.
Check:
- background layout
- lighting
- framing
- camera distance
The successful result kept the indoor living room environment and the original shot style.
Why Character Replacement Worked Better Than Regenerating the Shot
Regenerating a similar video is not the same as replacing a character
Before using the replacement workflow, I tried another approach.
I kept the original prompt structure and changed the character references to the new character.
The result created a new video with the new character.
However, this was not the same as replacing a person inside an existing video.
The generation understood the scene concept, but it recreated the shot instead of preserving the original performance.
This approach can work when you want a new video with a similar style.
It is less suitable when you need the exact movement and camera continuity from an existing clip.
A source video gives the model a stronger performance reference
The successful workflow used:
Existing video
+
New character reference
instead of:
New character reference
+
Text description of the scene
The difference was visible.
The replacement workflow kept the original shot while changing only the character identity.
For tasks like character swaps, this creates a clearer production process:
- build the performance once
- reuse it
- change the character when needed
Close-up shots make replacement easier to evaluate
The base video in this test used a close camera angle.
This turned out to be useful because the character identity was easy to check.
A wider shot may hide small identity changes. A close-up reveals whether the replacement remains consistent during movement.
For character replacement tests, a simple shot with a clear face is often more useful than a complicated action scene.
Common Problems and Fixes
The original character is still visible
If the output still looks like the original person, the workflow may not be treating the task as a replacement.
Try:
- using the video as the source reference
- adding a clear character identity reference
- explicitly saying that the original character should be replaced
The result looks like a new video instead of a replacement
This usually happens when the workflow focuses too much on describing the scene.
The model may recreate:
- the room
- the camera
- the action
instead of preserving the original clip.
Use the source video as the main reference and describe what should remain unchanged.
The character changes during movement
A single reference image may not provide enough information for every angle.
If the character becomes unstable:
- add a front view
- add a three-quarter view
- add a side view when the shot requires it
For example:
@hero
+
@CHAR2_34
can provide more information about the character from different angles.
The video changes too much
If the background or framing changes, reduce unnecessary instructions about new content.
The prompt should focus on preservation:
- keep the original shot
- keep the original camera
- keep the original environment
Character replacement works best when the model has fewer reasons to redesign the scene.
FAQ
Should I regenerate a video or replace the character in an existing video?
Choose regeneration when you only need a similar scene with a different character.
Choose replacement when you want to keep the original movement, camera, and timing.
The two workflows solve different problems.
Can I replace a character with only one reference image?
For simple shots, one clear character image may be enough.
In my test, a single main character reference was enough because the source video was a close-up shot.
For more complex movement or wider shots, additional views may help.
What type of video works best for character replacement?
A useful source clip usually has:
- a visible character
- clear movement
- stable camera behavior
- a simple environment
Close-up and medium shots are easier to evaluate because identity changes are more obvious.
Is video editing the same as character replacement?
Not always.
In my test, using a general video edit workflow did not replace the character successfully.
The replacement workflow worked better because it treated the original video as the performance source and the new character as the identity source.
Can I reuse the same source video for different characters?
Yes, this is one of the biggest advantages of the workflow.
Once a useful performance clip exists, you can reuse it as a base and create different character versions without rebuilding the entire shot.
Ready to try it on the canvas?
Open Astorie and fan your prompt across every frontier model in one workflow.